First tutorial!!! Whoo hooo!! Ok, so it is not going to be a wood working one to start with. My workshop is a
war zone disaster at the moment due to us moving.
I tried to get my husband to clean it all up but he insists we do it TOGETHER. I am all for spending quality time with the hubs but I would prefer it be with flowers, food, and chocolate, not a hot sweaty garage and him barking orders. My first tutorial is going to be on handmade, and painted, pillow cases!! We have a super comfy couch but it is very, shall we say bachelor pad looking. It would really improve with some cute throw pillows.
So let's get started.
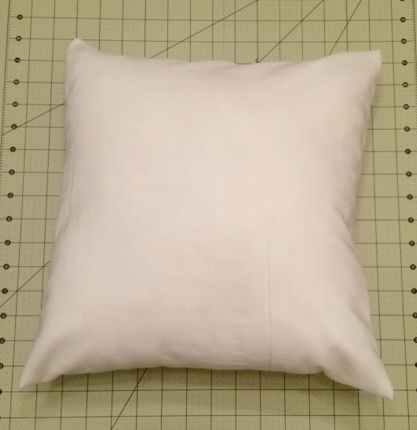
This will be a two part post, today we are going to focus on the actual pillow case. To begin with you will need either an old pillow you want to cover or a pillow form. I am going to be working with a 14x14 pillow. Second you will need 1 yard of fabric ( you can make two pillows cases with one yard), matching thread, pins, an iron, cutting mat, rotary cutter (scissors work but a rotary cutter makes things so much easier) and a sewing machine.
First we are going to measure and cut our fabric to size. To figure out what size you need your fabric take the width of your pillow and add 1 inch. My pillow is 14 inches wide so I will cut my fabric to 15 inches. Next take the length of your pillow (mine is 14) double it and add 6. So 14+14=28, 28+6=34. This is how long your fabric will be so there is plenty of room to hem and have the back pieces overlap.
Next we will iron the edges for our hem. Fold each edge about 1/2 and inch and iron it down, then fold over another 1/2 inch and iron. Its totally fine if its not exactly 1/2 of an inch (mine never are) the beauty of this pillow is that there is room for error. Once the edges are ironed down take the fabric to your machine and sew those hems. Now guess what...you are halfway done!!! Look at you all Martha Stewart like!
Once you have your hems finished lay your fabric down with the nice sides of the hem facing up, if you do this part backward then the ugly part of your hem will be on the outside when you are finished. Lay your pillow form in the center of the fabric and bring one side up, and then the other side. Take a pin and pin the hems on each side and then wiggle your pillow out. Once your pillow is out of the fabric repin so that both sides of the fabric are pinned together.
Got it? Good, because here comes the last step.Take the fabric to your machine and sew each side with a 1/2 inch seam allowance. Don't forget to back stitch. Once you have both sides sewn together flip the case inside out through the back opening. Voila!! You just made a pillow case you crafty little minx!! Stuff that pillow form into the case and you are done!
Unless of course you want to go crazy and paint a custom monogram on it??!! You know you do. But it will have to wait until my next post because right now I have to go help the hubs in that sweaty garage. Ugh, but at least that means you will get some wood working tutorials in the future. Make sure to check back for the monogram tutorial!
If you don't want to go through all this though you can always order a SUPER cute custom case from me
here.


I wish I could sew, so badly. Olivia got a sewing machine for her birthday so I may have to jack that and hopefully not break it!
ReplyDeleteThis is SUPER easy to do and perfect for beginners practicing straight lines.
Delete